EXPLORE OUR PROCESS

ENERGY ASSESSMENT
Calculate your average daily electricity consumption.
Consider your long-term energy goals and project budget.

DESIGN & PROPOSAL
Design a system that meets your unique energy needs.
Review the proposal, including system size, equipment specifications, and cost estimates.

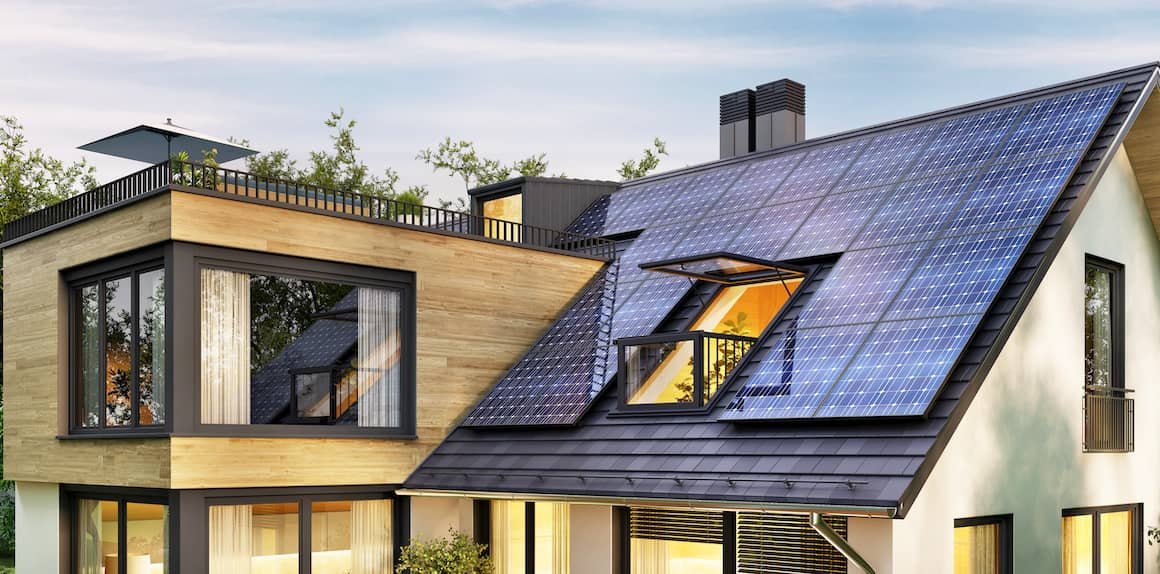
ROOF ASSESSMENT
Check the orientation, tilt, and shading of your roof.
Ensure your roof is structurally sound and can properly support the weight of solar panels.

EQUIPMENT PROCUREMENT
Purchase solar panels, inverters, racking system, and other components.
Ensure all equipment meets industry standards and warranties.

PERMITS
Obtain necessary permits from your local building department.
Ensure compliance with zoning regulations and homeowner association guidelines.

INSTALL
Roof preparation: Mounting brackets are installed on the roof.
Panel installation: Solar panels are mounted on the brackets and connected with wiring.
Inverter installation: Inverters are installed to convert solar energy into usable electricity.
Electrical connections: Wiring is connected to your home's electrical system and the utility grid.
System testing: The installer tests the system to ensure proper functionality.

INTERCONNECTION & INSPECTION
Application: Submit an application for interconnection with your utility company.
Inspection: Schedule an inspection to verify compliance with electrical and building codes.

SYSTEM ACTIVATION
Utility Approval: Once inspections are passed, the utility company will approve the system for long term operation.
Activation: Power up your solar system and start generating clean energy!

MONITORING & MAINTENANCE
Monitor system performance using a monitoring platform.
Schedule regular maintenance checks to ensure optimal performance.
Clean solar panels as needed to maximize energy production.
Following these detailed steps will help you navigate the solar installation process smoothly and enjoy the benefits of clean, renewable energy for years to come.